


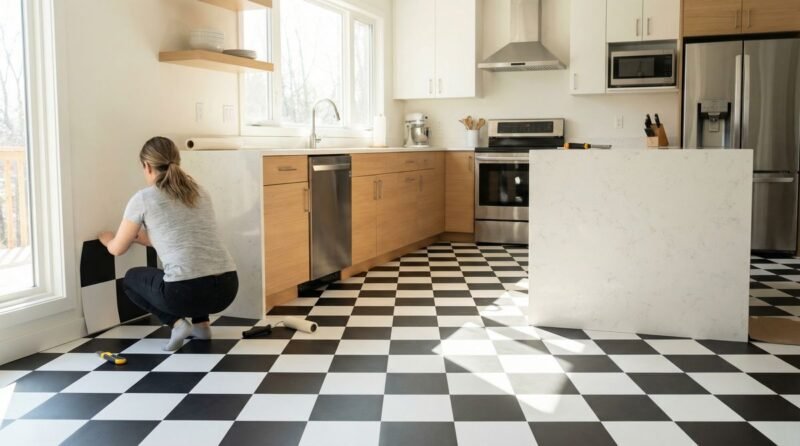
Installing peel and stick floor tiles over linoleum is an efficient and cost-effective way to update your flooring without the hassle and expense of a full replacement. This guide walks through each step, from preparation to finishing touches, ensuring a smooth, durable installation that revitalizes any space with minimal disruption.
Understanding Peel and Stick Floor Tile
Peel and stick floor tiles are a popular choice for quick and easy home improvement projects. These tiles come with a self-adhesive backing that eliminates the need for additional glue or mortar. Their versatility and simple installation process make them ideal for covering existing linoleum flooring, offering a fresh new look without demolition or mess.
Preparing the Linoleum Surface
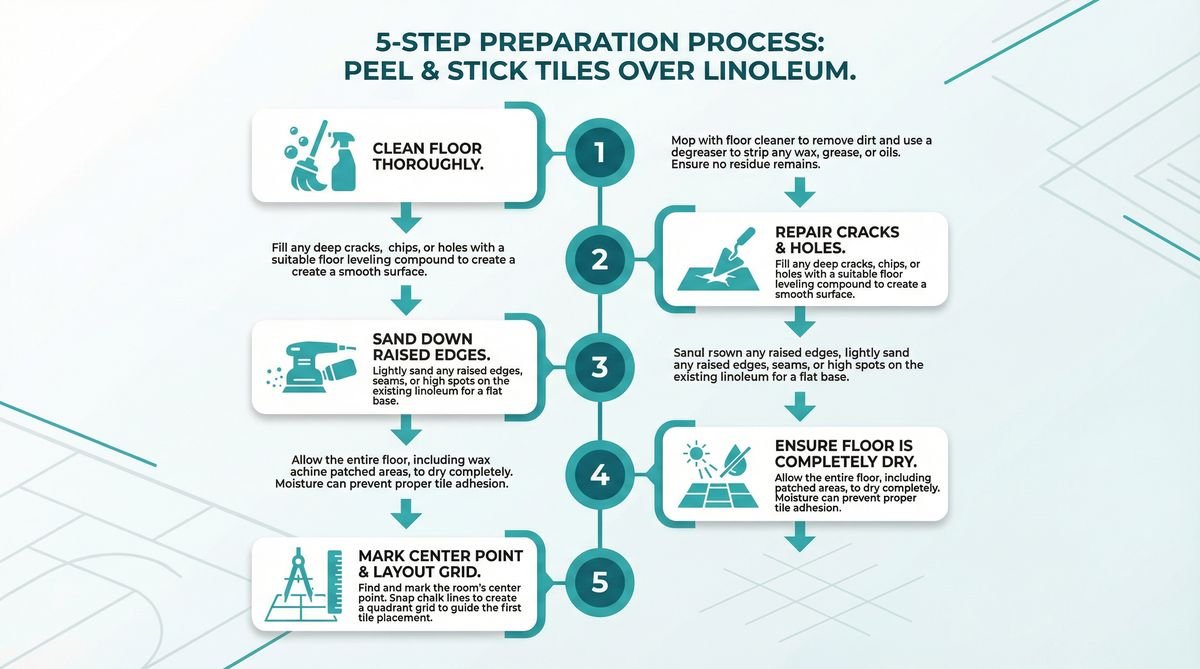
Proper preparation of the linoleum surface is crucial for a successful peel and stick tile installation. This step ensures the adhesive bonds well and the tiles stay securely in place over time.
Cleaning the Floor
Start by thoroughly cleaning the linoleum to remove dirt, grease, and any residues that could prevent adhesion. Use a degreasing cleaner or a mixture of warm water and mild detergent. Rinse well and allow the floor to dry completely.
Repairing Damaged Areas
Inspect the linoleum for cracks, bubbles, or loose sections. Patch any holes or gaps using a floor patch compound and sand down uneven spots to create a smooth surface. This will prevent imperfections from showing through the new tiles and reduce the risk of tiles lifting prematurely.
Sanding the Surface
Lightly sanding the linoleum surface with fine-grit sandpaper helps to create a rough texture, improving tile adhesion. Be careful to avoid over-sanding, which can damage the linoleum. After sanding, clean the floor again to remove dust and debris.
Gathering Tools and Materials
Having the right tools and materials on hand before beginning installation streamlines the process and ensures professional results.
- Peel and stick floor tiles (calculate quantity based on room size plus 10% extra for cuts and waste)
- Measuring tape and chalk line or pencil for marking
- Utility knife or tile cutter
- Floor cleaner and degreaser
- Fine-grit sandpaper or sanding block
- Floor patch compound and putty knife
- Rubber roller
- Straight edge or ruler
- Safety gloves and knee pads for comfort
Step-by-Step Installation Process
This section provides a detailed walkthrough to help homeowners install peel and stick tiles over linoleum with confidence and precision.
Measuring and Marking the Floor
Begin by measuring the room dimensions accurately. Use a chalk line or pencil to mark the center point of the floor, creating intersecting lines to guide tile placement. Starting in the center helps achieve a symmetrical layout and minimizes awkward cuts at walls.
Dry Fitting the Tiles
Lay out several tiles along the chalk lines without removing the backing. This dry run helps visualize the pattern and adjust tile placement before committing. Pay close attention to how tiles align near walls and corners to plan necessary cuts.
Cutting Tiles to Fit
Use a utility knife and straight edge to score tiles for clean cuts. For curved or irregular cuts around obstacles, carefully trim small sections incrementally. Always measure twice before cutting to minimize waste.
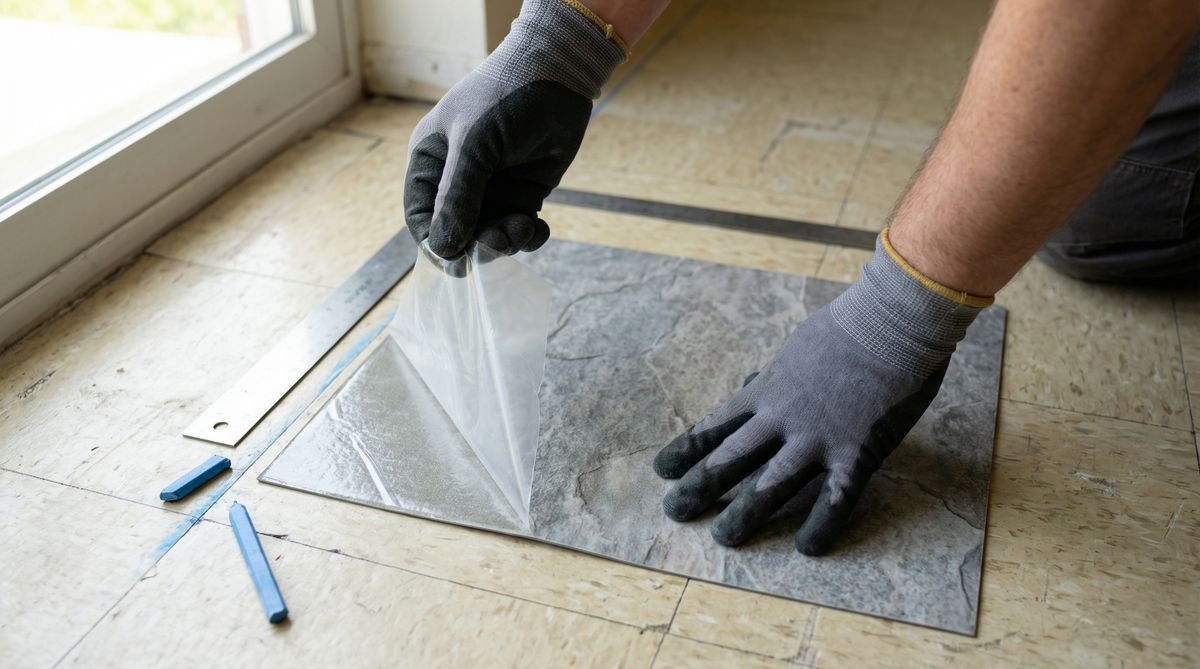
Applying the Tiles
- Starting at the center intersection, peel back a small section of the tile’s backing.
- Align the tile carefully with your chalk lines and press it firmly onto the floor.
- Use a rubber roller to apply even pressure across the tile, enhancing adhesion and preventing air bubbles.
- Continue working outward, peeling and sticking tiles one by one.
- Cut and install edge tiles last, ensuring they fit snugly against walls and baseboards.
Allowing Tiles to Set
After installation, avoid heavy foot traffic for at least 24 hours to allow the adhesive to bond properly. Maintain a consistent room temperature and avoid exposure to moisture during this time for best results.
Maintenance and Care Tips
Proper maintenance extends the life and appearance of peel and stick floor tiles. Regular cleaning and careful handling will keep your floor looking fresh and new.
- Use a damp mop with mild detergent to clean the floor regularly; avoid abrasive cleaners.
- Place felt pads under furniture legs to prevent scratches.
- Clean spills promptly to avoid staining or adhesive weakening.
- Avoid excessive water exposure, especially near seams.
Common Challenges and Solutions
While peel and stick tile installation is straightforward, certain issues may arise. Understanding these common challenges helps troubleshoot effectively.
| Challenge | Cause | Solution |
|---|---|---|
| Tiles peeling up | Dirty or uneven floor surface | Ensure thorough cleaning and smooth surface prep before installation |
| Bubbles under tiles | Air trapped during application | Use a roller to press out air and press firmly during installation |
| Uneven seams | Incorrect tile alignment | Measure carefully and use chalk lines to guide placement |
Frequently Asked Questions
Can peel and stick tiles be applied over any linoleum?
Peel and stick tiles can be applied over most linoleum surfaces as long as the floor is clean, smooth, and firmly adhered to the subfloor. Damaged or loose linoleum should be repaired or replaced prior to installation.
How long does it take for peel and stick tiles to adhere properly?
Tiles generally require at least 24 hours to fully bond with the floor. Avoid heavy traffic and moisture during this period to ensure optimal adhesion.
Is it necessary to remove linoleum before installing peel and stick tiles?
Removing linoleum is not required if the surface is in good condition. Installing directly over linoleum saves time and reduces debris, provided the linoleum is clean and smooth.
Can peel and stick tiles be used in moisture-prone areas?
While peel and stick tiles are water-resistant, prolonged exposure to moisture can weaken adhesive bonds. It’s best to use them in areas with minimal water exposure or ensure proper sealing around edges.
How do I cut peel and stick tiles for a perfect fit?
Use a sharp utility knife and a straight edge to score the tile, then snap along the score line. For curves or irregular shapes, make small incremental cuts carefully to avoid damaging the tile.
Conclusion
Installing peel and stick floor tiles over linoleum is a practical and attractive solution for homeowners seeking to refresh their floors without extensive renovation. With proper surface preparation, accurate measurement, and careful application, this project can transform any room efficiently and affordably. Following maintenance recommendations ensures the longevity and beauty of the new flooring, making peel and stick tiles a smart choice for many home improvement projects.
References
- How to Install Peel and Stick Floor Tiles – Family Handyman
- DIY Network, “Installing Peel and Stick Flooring”
- Home Depot, “Peel and Stick Vinyl Tile Installation Guide”
- Bob Vila, “Flooring Over Existing Floors: What You Need to Know”