


Hardwood floors add timeless beauty and value to any home, but over time, they can lose their luster, accumulating scratches, scuffs, and a dull appearance. While traditional sanding and refinishing can bring them back to life, this process is often messy, time-consuming, and costly. Fortunately, there are effective methods to restore your hardwood floors without the need for intensive sanding. This comprehensive guide will explore various non-sanding restoration techniques, their benefits, drawbacks, and provide a step-by-step approach to help you revive your floors, addressing common concerns and offering expert tips for a beautiful, lasting finish.
Why Consider Restoring Hardwood Floors Without Sanding?
Answer Capsule: Restoring hardwood floors without sanding offers a less invasive, quicker, and more affordable alternative to traditional refinishing, ideal for floors with minor wear and intact finishes.
Benefits of Non-Sanding Restoration
- Less Dust and Mess: Eliminates the significant dust associated with sanding.
- Faster Process: Often completed in a day or less, minimizing disruption.
- Cost-Effective: Generally more affordable than full sanding and refinishing.
- Extends Floor Life: Preserves the existing wood layer, allowing for future sanding if needed.
When to Choose Non-Sanding Methods
Non-sanding methods are best suited for floors that:
- Have only minor surface scratches, scuffs, or dullness.
- Possess an intact finish, even if it has lost its shine.
- Require a cosmetic update rather than a complete overhaul.
- Are made of certain non-sandable materials like engineered wood or bamboo.
When Sanding is Necessary
Sanding remains the best option for floors with:
- Deep scratches, gouges, or significant damage.
- Missing or severely damaged boards.
- Extensive discoloration or stains that penetrate the wood.
- A desire to significantly change the stain color.
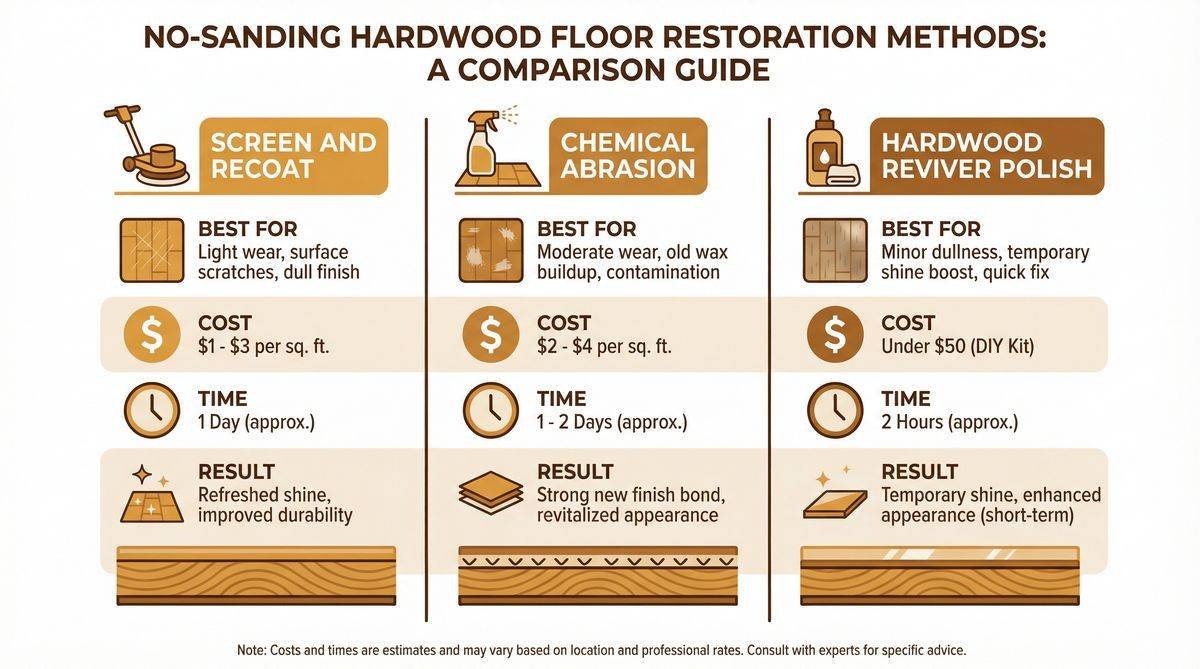
Effective Methods for Non-Sanding Hardwood Floor Restoration
Answer Capsule: Several non-sanding methods exist, including screening and recoating for light wear, chemical etching for existing finishes, and revitalizers/polishes for quick aesthetic improvements.
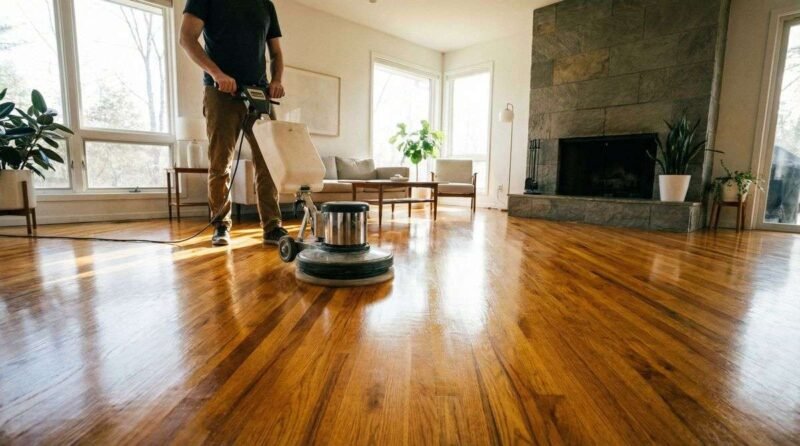
Screening and Recoating
This method involves lightly abrading the existing finish with a buffer and a fine-grit screen or pad, creating a microscopic texture for a new coat of polyurethane to adhere to. It does not remove the wood itself, only the top layer of the finish. This is ideal for floors with minor surface wear where the finish is still largely intact but has lost its sheen.
Chemical Etching and Refinishing
Chemical etching utilizes specialized solutions to dissolve or soften the top layer of the existing finish, preparing the surface for a new coat without mechanical abrasion. This method is particularly effective for floors with a polyurethane coating that is in relatively good condition but needs a fresh protective layer. It minimizes dust and labor compared to sanding.
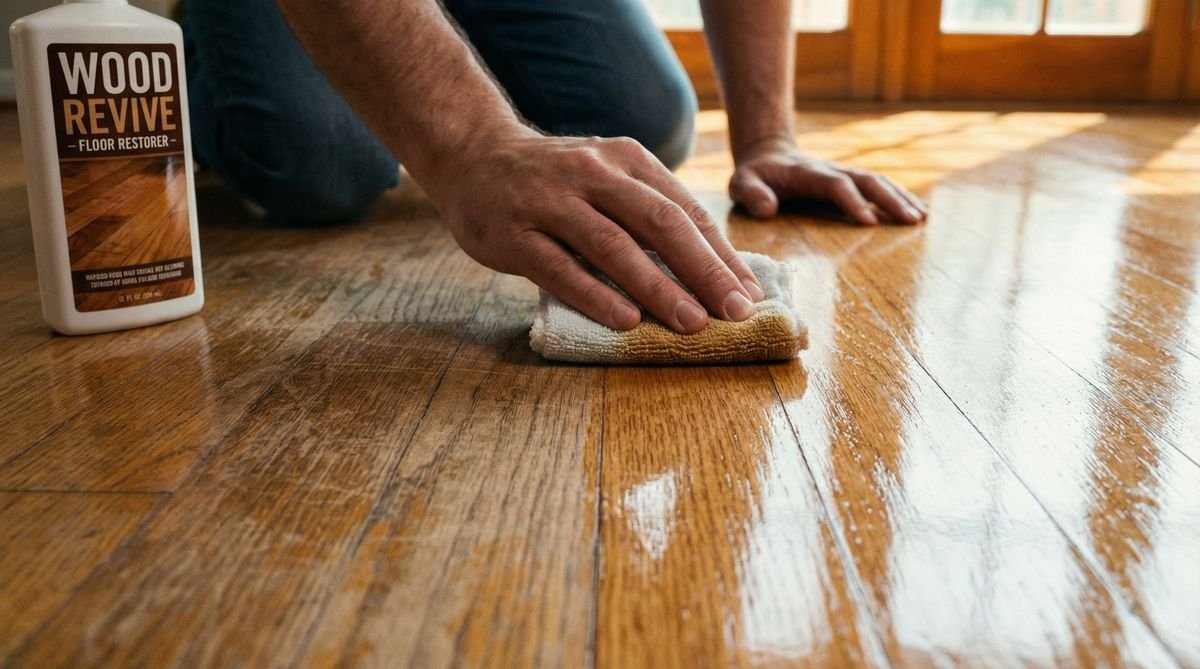
Hardwood Floor Revitalizers and Polishes
These products are designed for quick aesthetic improvements, restoring shine and temporarily filling in minor scratches and scuffs. They typically contain a blend of polymers and waxes that create a new sacrificial layer over the existing finish. While easy to apply and offering immediate results, revitalizers and polishes are generally a temporary fix and not a long-term refinishing solution.
Pros and Cons of Each Non-Sanding Method
Answer Capsule: While non-sanding methods offer advantages like speed and cost, they have limitations, such as not addressing deep damage or allowing significant stain color changes.
| Method | Pros | Cons | Best For |
|---|---|---|---|
| Screening and Recoating | Less dust, faster, cost-effective, extends finish life. | Doesn’t remove deep scratches/stains, limited color change. | Floors with minor surface wear, dullness, and intact finish. |
| Chemical Etching | No heavy machinery, less labor, reduced airborne dust, good adhesion. | Requires careful application, specific to certain finishes, limited color change. | Polyurethane-coated floors in good condition needing a new protective layer. |
| Revitalizers/Polishes | Instant shine, easy application, fills minor scratches. | Temporary fix, can build up over time, not for deep damage. | Quick aesthetic refresh, temporary solution for dullness and very minor scuffs. |
Step-by-Step Guide to DIY Hardwood Floor Restoration (Without Sanding)
Answer Capsule: A successful DIY non-sanding restoration involves thorough cleaning, minor repairs, and careful application of the chosen finish or revitalizer, ensuring proper preparation for optimal results.
1. Thorough Cleaning
- Vacuum and Sweep: Remove all loose dirt, dust, and debris from the floor. Use a vacuum with a hardwood floor attachment.
- Deep Clean: Use a hardwood-specific cleaner or a solution of warm water and a small amount of pH-neutral soap. Avoid excessive water. For stubborn grime, a mixture of white vinegar and water (10:1 ratio) can be effective. Ensure the floor is completely dry before proceeding.
2. Address Minor Imperfections
- Fill Small Scratches: Use wood filler pens or wax sticks designed for hardwood floors to camouflage minor scratches and nicks. Choose a color that matches your floor.
- Tighten Loose Boards: If any boards are slightly loose, secure them with appropriate wood screws to prevent future movement and squeaks.
3. Choose Your Restoration Method
Based on the condition of your floors and desired outcome, select one of the methods discussed above:
- For light wear and dullness: Screening and recoating.
- For intact finishes needing a new protective layer: Chemical etching and refinishing.
- For a quick shine and minor scratch concealment: Hardwood floor revitalizers and polishes.
4. Product Application
- Screening and Recoating: Rent a buffer with a fine-grit screening pad. Work in sections, overlapping slightly. After screening, thoroughly vacuum and tack the floor. Apply a water-based polyurethane finish using a lamb’s wool applicator or roller, working with the grain. Allow adequate drying time between coats.
- Chemical Etching: Follow manufacturer instructions carefully. Apply the etching solution evenly, allow it to dwell for the recommended time, then neutralize and clean the floor. Once dry, apply a new compatible finish.
- Revitalizers and Polishes: Apply the product evenly with a microfiber applicator pad or mop. Work in small sections, ensuring a thin, consistent coat. Allow to dry completely before walking on the floor or replacing furniture.
5. Curing and Maintenance
- Curing Time: Allow the new finish or revitalizer to cure fully according to product instructions, which can range from hours to several days. Avoid heavy foot traffic and placing furniture during this period.
- Regular Maintenance: Implement a routine cleaning schedule using hardwood-specific cleaners and soft mops to preserve the restored finish. Use felt pads under furniture and area rugs in high-traffic areas.
Common Questions About Non-Sanding Hardwood Floor Restoration
Answer Capsule: Non-sanding methods are suitable for minor damage and cosmetic updates, with varying lifespans and limited options for stain changes, making proper assessment crucial.
Q: How long does a non-sanding refinish last?
A: The lifespan varies by method. Screening and recoating can last several years with proper maintenance, while revitalizers and polishes offer a temporary refresh, typically lasting a few months to a year.
Q: Can I change the stain color of my hardwood floors without sanding?
A: Non-sanding methods offer very limited options for changing stain color. If a significant color change is desired, sanding down to bare wood is usually necessary to ensure proper stain absorption and an even finish.
Q: What are the best products for non-sanding restoration?
A: Popular products include water-based polyurethane finishes for recoating, specialized chemical etching kits, and various hardwood floor revitalizers and polishes from reputable brands. The best product depends on your floor’s condition and the method chosen.
Q: Is it cheaper to refinish or replace hardwood floors?
A: In most cases, refinishing (especially non-sanding methods) is significantly cheaper than replacing hardwood floors. Replacement involves higher material costs, demolition, and installation labor.
Q: Can I DIY non-sanding hardwood floor restoration?
A: Yes, many non-sanding methods are suitable for DIY enthusiasts. However, it’s crucial to thoroughly research the chosen method, follow product instructions meticulously, and ensure proper ventilation for safety and optimal results.
Conclusion
Restoring old hardwood floors without sanding is a viable and attractive option for many homeowners seeking to refresh their living spaces. By understanding the different methods—screening and recoating, chemical etching, and the use of revitalizers and polishes—you can choose the approach best suited to your floor’s condition and your desired outcome. While not a solution for severely damaged floors, these techniques offer a less intrusive, more affordable, and quicker path to revitalized hardwood. With careful preparation and application, your floors can regain their former glory, enhancing the beauty and comfort of your home for years to come.
References
- National Wood Flooring Association – Maintenance