


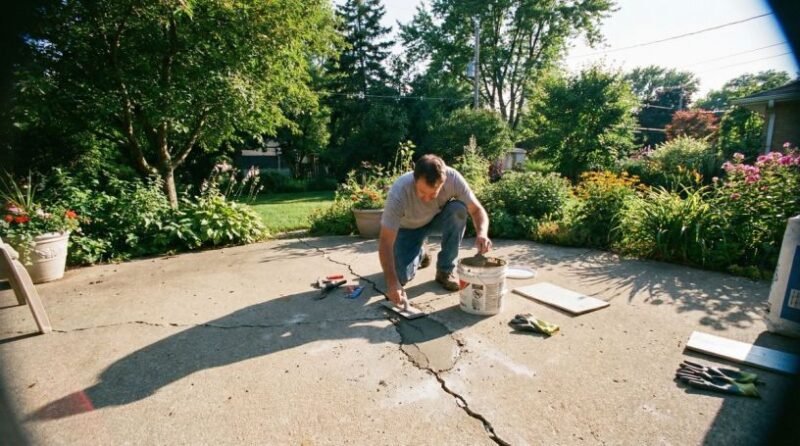
Repairing a cracked concrete patio yourself is entirely possible with the right tools, materials, and techniques. This guide provides a comprehensive, step-by-step approach to diagnosing, preparing, and fixing both narrow and wide cracks, ensuring your outdoor space remains safe and visually appealing. By understanding the root causes and applying proper maintenance, you can extend the lifespan of your patio significantly.
Understanding Concrete Patio Cracks
Concrete patios are durable, but they are not immune to damage. Identifying the type and cause of the crack is the first crucial step in determining the appropriate repair method. This section explores the common culprits behind concrete deterioration and how to assess the severity of the damage.
Common Causes of Cracks
Concrete cracks primarily due to environmental factors, structural shifts, and improper installation. Repeated freezing and thawing cycles cause water within the concrete to expand and contract, leading to surface and structural damage. Heavy loads, such as large vehicles or equipment, can stress the concrete beyond its capacity. Additionally, tree roots growing beneath the patio can exert upward pressure, causing the slab to heave and crack. Ground movement or settling, often due to poor soil compaction before pouring, is another frequent cause. Finally, if the concrete dries too quickly during the initial curing process, fine surface cracks, known as crazing, can appear.
Types of Cracks and Their Significance
Not all cracks are created equal. Hairline cracks, typically under one-quarter inch wide, are often cosmetic and do not immediately threaten the structural integrity of the patio. However, if left untreated, water infiltration can exacerbate the issue. Deep or wide cracks, exceeding one-quarter inch, usually indicate more significant underlying problems, such as soil settlement or severe freeze-thaw damage. Uneven cracks, where one side is higher than the other, are strong indicators of structural failure and may require professional assessment or even complete replacement of the affected section.
Essential Tools and Materials for DIY Repair
Equipping yourself with the correct tools and materials is vital for a successful and long-lasting repair. Using subpar products or improper equipment can lead to premature failure of the patch.
Tools You Will Need
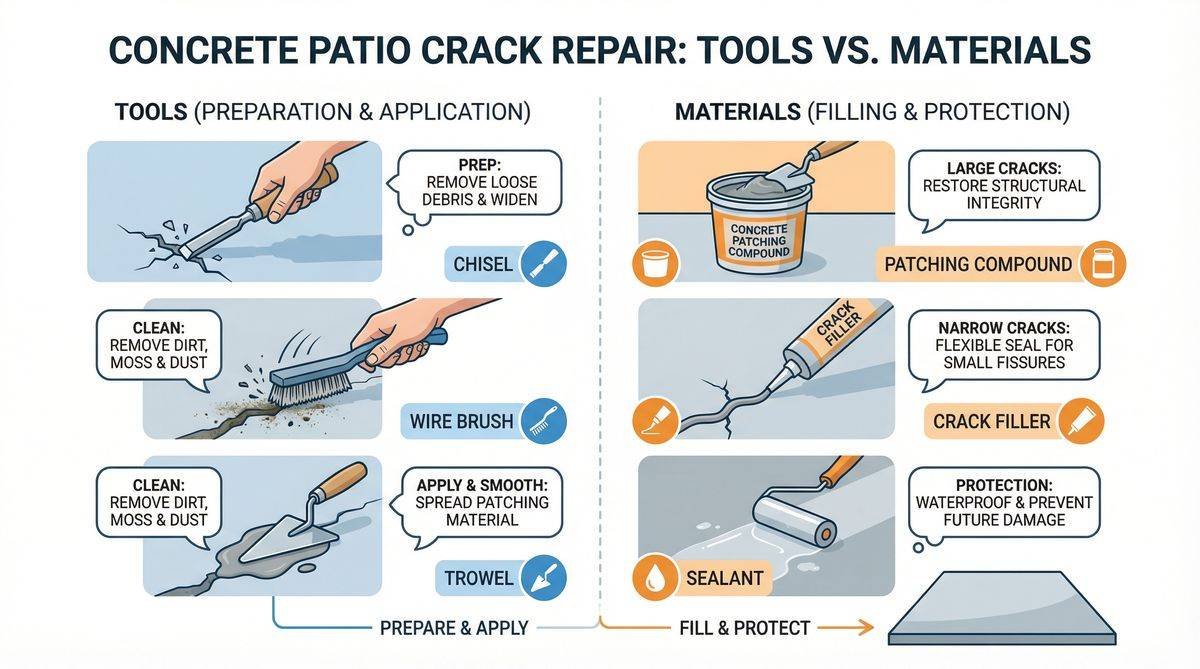
Before beginning the repair process, gather the necessary tools. A wire brush and a stiff-bristled broom are essential for cleaning the crack and surrounding area. A small sledgehammer and a masonry chisel are required for undercutting and widening larger cracks. For applying the filler or patching compound, a putty knife or a masonry trowel is necessary. A caulking gun is needed if you are using a tube-based crack filler. Finally, a pressure washer or a high-powered hose nozzle is highly recommended for thoroughly cleaning the patio surface before starting the repair.
Choosing the Right Repair Materials
The choice of repair material depends heavily on the size of the crack. For narrow cracks (under one-quarter inch), a flexible liquid concrete crack filler or a masonry caulk is ideal. These products are designed to expand and contract with the concrete, preventing the patch from pulling away during temperature fluctuations. For wider cracks (over one-quarter inch), a concrete patching compound or a dry concrete mix is necessary. These mixtures often contain sand or fine gravel to provide structural strength. Additionally, a concrete backer rod is recommended for deep cracks to provide a base for the patching compound and reduce the amount of material needed.
Step-by-Step Guide to Repairing Narrow Cracks
Repairing narrow cracks is a straightforward process that can prevent minor damage from escalating into major structural issues. Proper preparation and application are key to a seamless fix.
Preparation is Key
The success of any concrete repair hinges on thorough preparation. Begin by removing any loose debris, dirt, or old patching material from the crack using a wire brush or a slotted screwdriver. Pull out any weeds or grass growing within the fissure. Next, use a broom, leaf blower, or shop vacuum to clear the surrounding area. Finally, wash the crack and the entire patio surface thoroughly. A pressure washer is highly effective for this step, but a strong stream from a garden hose can also suffice. Allow the concrete to dry completely before proceeding.
Applying the Filler
Once the area is clean and dry, apply the concrete crack filler. If using a liquid filler in a bottle, carefully pour it directly into the crack. If using a tube, load it into a caulking gun and squeeze the filler into the gap. For self-leveling fillers, simply allow the product to settle. If the filler is not self-leveling, use a putty knife to smooth it over the crack, ensuring it is flush with the surrounding surface. Scrape off any excess material immediately. Allow the filler to cure completely according to the manufacturer’s instructions before walking or placing furniture on the patio.
Repairing Wide Cracks
Wide cracks require a more robust approach, often involving undercutting the edges and using a stronger patching compound to ensure a durable repair.
Preparing Wider Cracks
Preparing a wide crack involves creating a mechanical lock for the patching material. Use a small sledgehammer and a masonry chisel to undercut the edges of the crack, creating an inverted V shape. This widens the base of the crack, allowing the patching compound to key into the existing concrete and preventing it from popping out. After chiseling, thoroughly clean the crack using a wire brush and a shop vacuum to remove all dust and loose particles. If the crack is particularly deep, insert a foam backer rod into the gap to provide a stable base for the patching compound.
Filling and Finishing
Mix the concrete patching compound according to the package directions. Using a masonry trowel, press the mixture firmly into the crack, ensuring there are no air pockets. Fill the crack until the compound is slightly mounded above the surface. Then, use the flat edge of the trowel to smooth and level the patch, blending it seamlessly with the surrounding concrete. If the existing patio has a textured finish, use a stiff brush or a sponge to lightly texture the wet patch to match. Allow the compound to cure fully before exposing it to heavy traffic.
When to Call a Professional: Recognizing Limits
While many concrete repairs are suitable for DIY enthusiasts, certain situations demand the expertise of a professional contractor to ensure safety and long-term stability.
Signs Your Patio Needs Expert Attention
If your patio exhibits uneven cracks wider than an inch, or if one side of the crack is significantly higher than the other, this indicates severe structural settling or heaving. In such cases, surface patching is merely a temporary bandage. Similarly, if the concrete is crumbling extensively or if you notice widespread, deep jagged breaks, the underlying foundation may be compromised. Extensive damage often requires breaking up and removing the affected sections, re-compacting the base, and pouring new concrete—a task best left to professionals equipped with heavy machinery.
Benefits of Professional Repair
Hiring a professional offers several advantages for complex repairs. Contractors possess the experience to accurately diagnose the root cause of the damage, ensuring the repair addresses the underlying issue rather than just the symptom. They have access to specialized equipment, such as concrete saws and heavy-duty mixers, which are necessary for large-scale jobs. Furthermore, professionals can provide warranties on their work, offering peace of mind that the repair will withstand the test of time and weather.
Preventing Future Concrete Patio Cracks
Proactive maintenance and proper installation techniques are the most effective ways to minimize the occurrence of cracks and extend the life of your concrete patio.
Proper Installation and Curing
The foundation of a crack-resistant patio begins with installation. Ensuring the subgrade is properly compacted prevents future settling. Using a high-quality concrete mix with the correct water-to-cement ratio is crucial for strength. Incorporating reinforcement, such as rebar or wire mesh, significantly increases the slab’s tensile strength. Additionally, cutting control joints into the concrete creates intentional weak spots, encouraging the concrete to crack in a straight, controlled line rather than randomly across the surface. Proper curing, which involves keeping the concrete moist for the first week, is essential for achieving maximum strength.
Ongoing Maintenance and Protection
Regular maintenance is vital for preserving your patio. Ensure proper drainage around the patio to prevent water from pooling and seeping under the slab, which can cause freeze-thaw damage or soil erosion. Clean the surface annually with a pressure washer to remove dirt, mold, and mildew. Applying a high-quality concrete sealer every few years protects the surface from moisture penetration, chemical spills, and UV damage. Finally, avoid using harsh de-icing salts during winter, as these can cause the concrete surface to scale and deteriorate.
FAQ: Your Concrete Patio Crack Questions Answered
Addressing common questions helps clarify the repair process and provides quick, actionable advice for homeowners tackling concrete patio maintenance.
What causes concrete patios to crack?
Concrete patios crack due to a combination of factors, including freeze-thaw cycles, ground settling, heavy loads, tree root pressure, and improper installation or curing. Water infiltration is a primary catalyst for expanding existing cracks.
Can I fix a cracked concrete patio myself?
Yes, minor to moderate cracks (up to half an inch wide) are generally manageable as DIY projects. Using the correct fillers, patching compounds, and preparation techniques can yield excellent, long-lasting results.
What materials do I need to repair concrete cracks?
For narrow cracks, you need a flexible liquid filler or masonry caulk. For wider cracks, a concrete patching compound, a trowel, a chisel, a hammer, and potentially a foam backer rod are required. Cleaning tools like a wire brush and pressure washer are essential for both.
When should I call a professional for concrete repair?
You should consult a professional if the cracks are wider than an inch, if the concrete is uneven or heaving, or if there is widespread crumbling. These signs indicate structural issues that require expert assessment and potentially heavy equipment to resolve.
How do I prevent concrete patio cracks?
Prevent cracks by ensuring proper installation with a compacted base and control joints. Maintain the patio by sealing it every few years, ensuring good drainage away from the slab, and avoiding the use of harsh de-icing salts.
How long does concrete crack repair last?
A properly executed repair using high-quality materials can last for several years. However, if the underlying cause of the crack (such as ground settling) is not addressed, new cracks may form or the repaired area may fail over time.
Conclusion
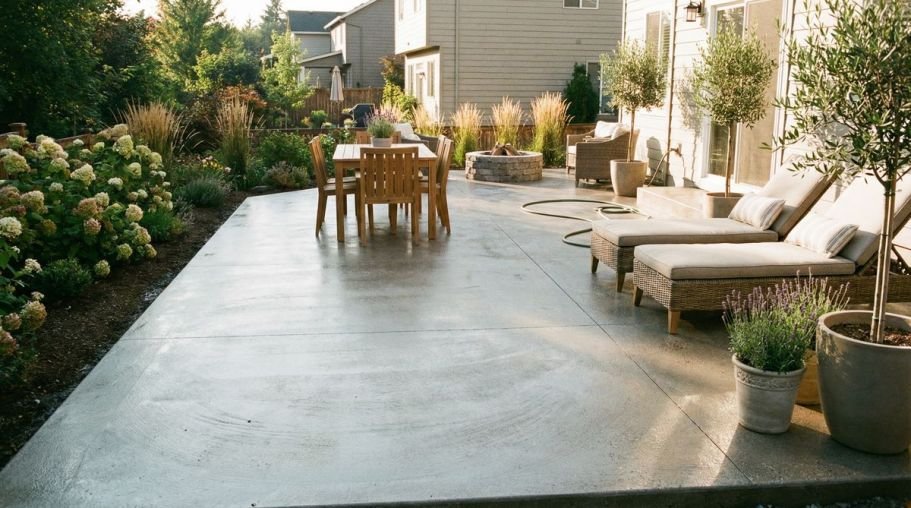
Repairing a cracked concrete patio is a rewarding DIY project that restores both the safety and aesthetic appeal of your outdoor living space. By accurately assessing the damage, selecting the appropriate materials, and meticulously preparing the surface, you can achieve professional-quality results. Remember that while minor repairs are manageable, significant structural damage warrants professional intervention. Consistent maintenance, including regular cleaning and sealing, is the most effective strategy for preventing future deterioration and ensuring your patio remains a durable and enjoyable feature of your home for years to come.
References
For further reading on home improvement and maintenance, visit The Home Depot.