

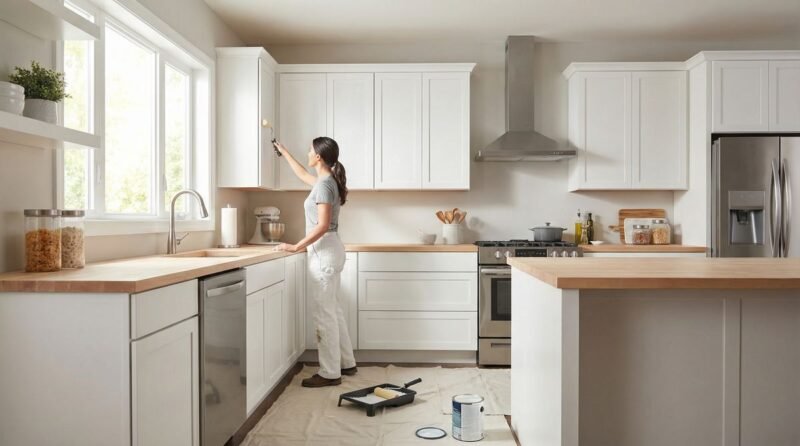
Dreaming of a kitchen cabinet makeover but dread the thought of sanding? Good news: you can skip that laborious step entirely. By choosing the right paint and preparing your surfaces correctly, you can achieve a stunning, durable finish. This guide provides a detailed walkthrough on how to paint kitchen cabinets without sanding, saving you time and effort while giving your kitchen a fresh, modern look.
Introduction: A Fresh Look for Your Kitchen, Sans the Sanding
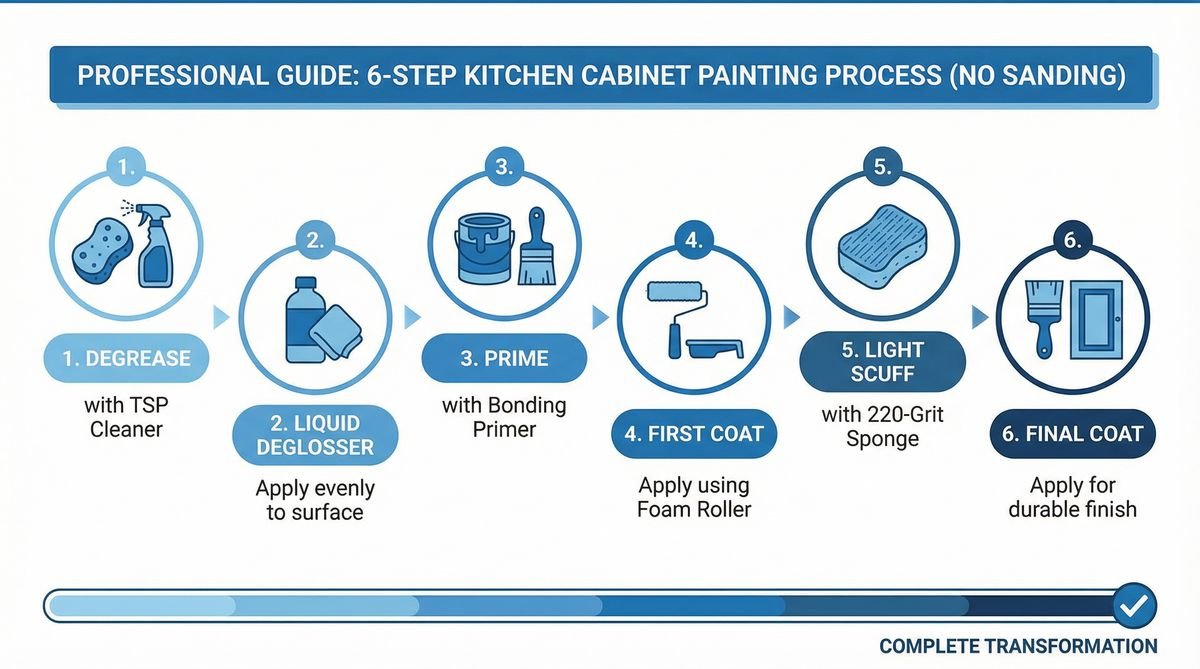
Answer Capsule: Painting kitchen cabinets without sanding is achievable with proper preparation and the right materials. This method involves thorough cleaning, degreasing, and using high-adhesion primers and paints. It saves significant time and avoids the mess of traditional sanding, making it an accessible DIY project for a major kitchen upgrade.
A kitchen cabinet refresh is one of the most effective ways to boost your home’s aesthetic and value. However, the traditional process involves time-consuming and messy sanding, a major deterrent for many homeowners. Thanks to modern paint technology, a no-sand cabinet painting approach is not only possible but also produces a long-lasting, professional-quality finish. This guide will demystify the process, covering everything from material selection to step-by-step execution, empowering you to confidently transform your kitchen.
The Secret to No-Sand Cabinet Painting: Proper Paint and Tools
Answer Capsule: The key to painting cabinets without sanding lies in using a high-adhesion bonding primer and a quality topcoat. This combination allows the paint to adhere to slick surfaces, creating a durable and long-lasting finish without the need for extensive prep work.
The success of a no-sand kitchen cabinet makeover hinges on two key elements: using the right type of paint and having the correct tools. Specially formulated paints are designed to adhere directly to existing finishes without the need for surface abrasion, simplifying the entire project.
Choosing the Right Paint for a No-Sand Project
Answer Capsule: For a successful no-sand cabinet painting project, select a paint specifically designed for adhesion to glossy or finished surfaces. Top choices include bonding primers paired with high-quality latex paint, specialized cabinet paints, or mineral/chalk paints. These products create a strong bond without needing the surface to be scuffed up first.
When shopping for paint, look for products labeled as “no-sanding,” “bonding primer,” or “for cabinets and furniture.” These paints contain polymers that allow them to grip onto smooth surfaces. Here are some of the best options:
- Bonding Primer and Latex Paint: A high-adhesion bonding primer is the cornerstone of the no-sand method. It creates a surface that latex paint can securely stick to. Pair it with a high-quality acrylic latex paint for a durable finish.
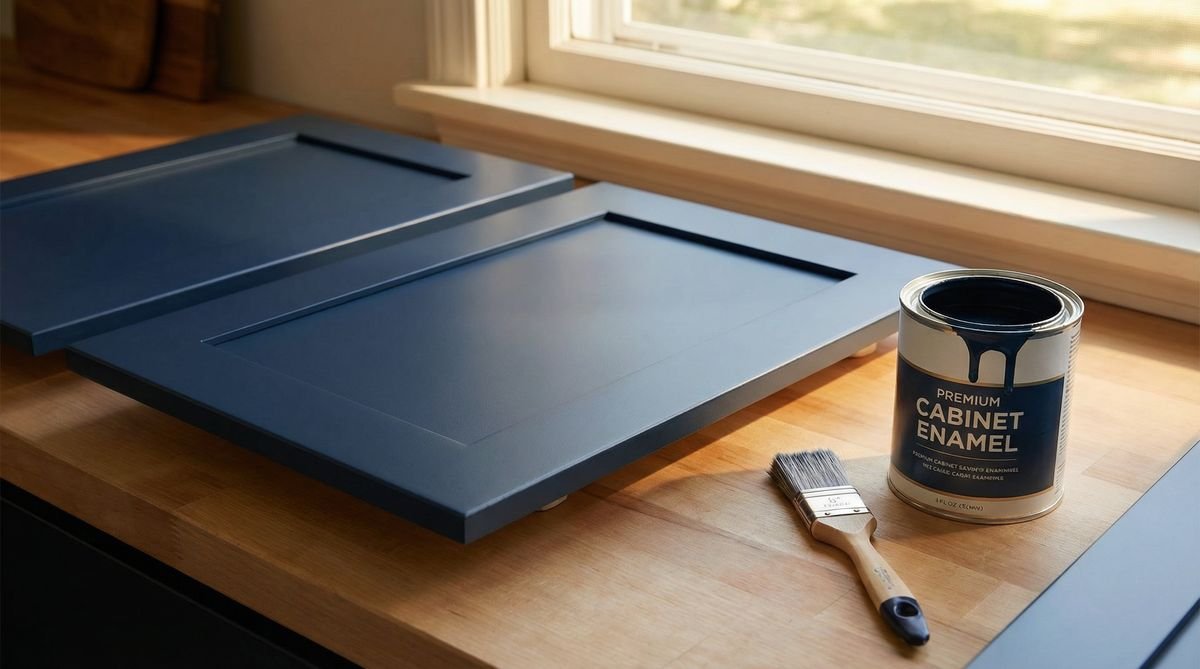
- Specialized Cabinet Paint: Many brands now offer all-in-one cabinet paint systems (e.g., cabinet and trim enamel) that are self-priming and designed for high-traffic areas, offering excellent durability and a hard, factory-like finish.
- Mineral or Chalk Paint: Known for their exceptional adhesion and matte finish, these paints are a popular choice for DIYers. They often require a topcoat of wax or polycrylic for added durability in a kitchen environment.
Your Essential Toolkit for a Flawless Finish
Answer Capsule: A successful no-sand cabinet painting project requires more than just paint. Essential tools include a high-quality degreaser, microfiber cloths, painter’s tape, a good quality synthetic brush for details, and a mini foam or microfiber roller for a smooth application on flat surfaces. These tools ensure a professional and durable result.
Gathering the right tools will make the process smoother and more efficient. Here’s a checklist of what you’ll need:
| Category | Tool | Purpose |
|---|---|---|
| Prep & Cleaning | TSP or a strong degreaser | To remove all grease and grime |
| Microfiber cloths | For cleaning and wiping down surfaces | |
| Painter’s tape and plastic sheeting | To protect countertops, floors, and walls | |
| Painting | High-quality synthetic brush (2-inch) | For cutting in and painting detailed areas |
| Mini foam or microfiber roller (4-6 inch) | For a smooth, brush-stroke-free finish on flat panels | |
| Paint tray | To hold and distribute paint evenly on the roller | |
| Safety | Gloves, goggles, and a mask | To protect yourself from chemicals |
Preparation: The Critical First Step to a Lasting Finish
Answer Capsule: Even without sanding, meticulous preparation is non-negotiable for a durable paint job. This phase involves thoroughly cleaning and degreasing the cabinets to remove any contaminants that could prevent paint adhesion. Any residue left on the surface can lead to paint failure, such as chipping or peeling.
Step 1: Thorough Cleaning
Kitchen cabinets are magnets for grease, food splatters, and grime. These contaminants are the number one enemy of paint adhesion. Start by cleaning all cabinet surfaces—doors, drawers, and frames—with a powerful degreaser like TSP (trisodium phosphate) or a commercial-grade equivalent. Follow the product’s instructions for dilution and safety. Use a microfiber cloth or sponge, and don’t be afraid to use a little elbow grease on stubborn spots. After degreasing, wipe everything down with a clean, damp cloth to remove any residue, and let the cabinets dry completely.
Step 2: Minor Repairs
Once clean, inspect your cabinets for any dings, scratches, or old hardware holes. Use a wood filler and a putty knife to fill these imperfections. Once the filler is dry, you may need to do a very light, targeted sanding just on the filled spots to make them smooth and flush with the surface. Wipe away any dust before proceeding.
The Step-by-Step Guide to Painting Cabinets Without Sanding
Answer Capsule: The no-sand painting process involves disassembling and labeling doors, applying a bonding primer, and then painting two to three thin coats of your chosen cabinet paint. Allowing adequate drying time between each coat is crucial for a smooth, durable, and professional-looking finish that will last for years.
Step 3: Disassembly and Labeling
Remove all cabinet doors, drawers, and hardware. To avoid a confusing puzzle later, create a labeling system. Use painter’s tape to number each door and the corresponding spot on the cabinet frame. Place the hardware in labeled bags. Set up your doors and drawers in a well-ventilated workspace, like a garage, propped up on painter’s pyramids or blocks for easy edge painting.
Step 4: Primer Application
Answer Capsule: Applying a high-adhesion bonding primer is the most critical step in the no-sand method. This specialized primer is formulated to stick to glossy, non-porous surfaces, creating a solid foundation for your topcoat. A single, thin, even coat is all that’s needed to ensure your paint job won’t peel or chip.
With your surfaces prepped, it’s time for the magic ingredient: the bonding primer. Use your brush to apply primer to detailed areas and corners, then use your mini roller for the large, flat surfaces. Apply a thin, even coat. The goal is not complete coverage but a uniformly primed surface. Let the primer dry completely according to the manufacturer’s instructions—this can take anywhere from one to four hours.
Step 5: Topcoat Application
Answer Capsule: For a professional finish, apply two to three thin coats of cabinet paint, allowing each coat to dry fully before applying the next. Using a high-quality brush for details and a foam roller for flat areas will minimize brush strokes. Patience during this stage is key to achieving a smooth, factory-like appearance.
Once the primer is fully cured, you can begin painting. Apply your chosen cabinet paint using the same brush-and-roll technique. Aim for two to three thin coats for the best results, rather than one thick coat. Allow ample drying time between coats as specified on the paint can. This is crucial for proper curing and a hard, durable finish. Paint the backs of the doors first, let them dry, then flip them to paint the fronts.
Step 6: Reassembly
After the final coat of paint has fully cured (this could take 24-72 hours or more, so be patient!), it’s time to reassemble your kitchen. Carefully re-install the doors, drawers, and hardware. This is also a great opportunity to upgrade your hardware for an even bigger impact. Step back and enjoy your beautifully transformed kitchen!
Frequently Asked Questions (FAQ)
What types of cabinets are suitable for no-sand painting?
Answer Capsule: The no-sand painting method works well on a variety of cabinet surfaces, including wood, laminate, thermofoil, and previously painted cabinets, as long as they are in good structural condition. The key is using a high-quality bonding primer designed for slick surfaces.
How durable is a no-sand paint finish?
Answer Capsule: When done correctly with proper cleaning, priming, and high-quality paint, a no-sand finish is extremely durable. It can withstand the daily wear and tear of a busy kitchen, including cleaning and minor impacts, just as well as a traditional sanded finish.
How do I prevent brush strokes and drips?
Answer Capsule: To avoid brush strokes, use a high-quality paint and a mini foam or microfiber roller for flat surfaces. Apply thin, even coats and avoid over-brushing. To prevent drips, don’t overload your brush or roller with paint and always check for and smooth out any runs before they dry.
Conclusion: A Professional Finish is Within Your Reach
Painting your kitchen cabinets without sanding is a game-changing DIY project that delivers transformative results with a fraction of the effort. By focusing on meticulous cleaning, using a top-tier bonding primer, and applying thin, even coats of quality paint, you can achieve a finish that looks and feels professional. Say goodbye to the dust and hassle, and hello to a kitchen you love.
References
1. This Old House – How to Paint Kitchen Cabinets Without Sanding